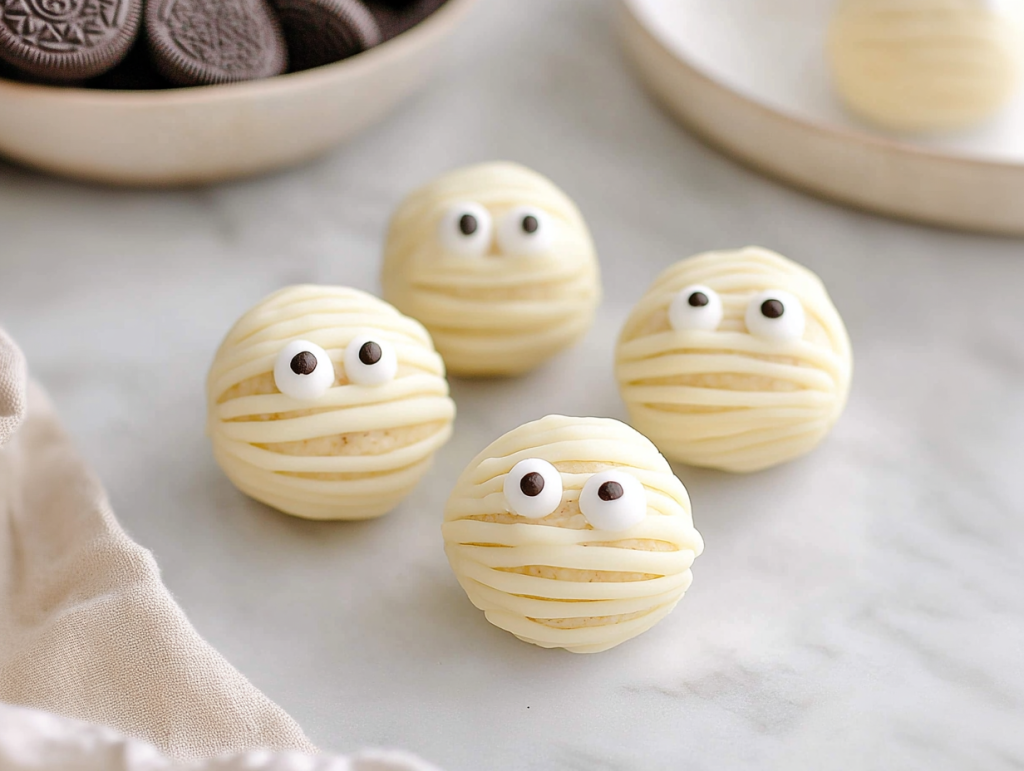
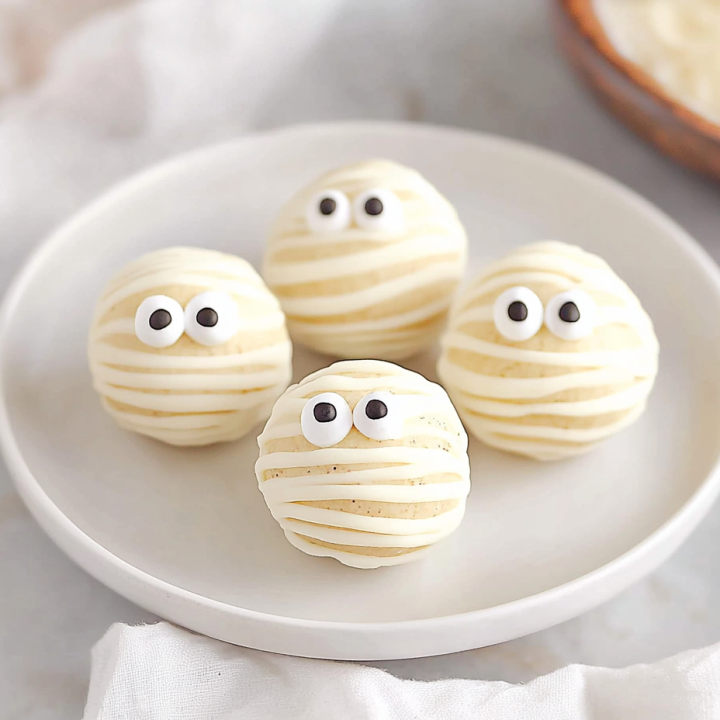
Get ready to add a dash of spooky fun to your Halloween with these Mummy Oreo Balls! This no-bake dessert is made with creamy Golden Oreos and cream cheese, dipped in sweet vanilla candy melts, and decorated with candy eyes for a hauntingly cute finish. They’re not only easy to make but also delightfully fun to eat!
Follow along and create these creepy, delicious mummies that everyone will love.
Spooky Mummy Oreo Balls Recipe
Delight your family and friends with these spooky Mummy Oreo Balls, a perfect Halloween treat! Made with just a few ingredients, these adorable, fun, and delicious bites are sure to be a hit at any Halloween party!
Ingredients
- 20 Golden Oreos
- 4 ounces cream cheese, softened to room temperature
- 10 ounces vanilla candy melts or dipping wafers
- 1 package candy eyes
Instructions
Step 1: Prepare the Oreo Mixture
- Line the baking sheet: Line a large baking sheet with parchment paper and set aside.
- Make the Oreo crumbs: Place the Golden Oreos in a food processor and pulse until they become a fine crumb.
- Mix in the cream cheese: In a large mixing bowl, combine the Oreo crumbs and softened cream cheese. Stir until the mixture is smooth and well blended.
Step 2: Form the Mummy Balls
- Shape the balls: Using a cookie scoop, scoop about 1 inch of the Oreo mixture and roll it into a ball. Place each ball on the prepared baking sheet.
- Chill the Oreo balls: Freeze the Oreo balls for 30 minutes to help them set and make them easier to dip.
Step 3: Melt the Candy Coating
- Melt the candy melts: Follow the package instructions to melt the vanilla candy melts until smooth. Pour the melted candy into a small bowl for dipping.
Step 4: Dip and Decorate
- Coat each Oreo ball: Working one at a time, use a fork to dip each Oreo ball into the melted candy. Allow any excess coating to drip off by gently tapping the fork on the bowl’s edge.
- Set on the baking sheet: Transfer the coated Oreo balls back to the lined baking sheet.
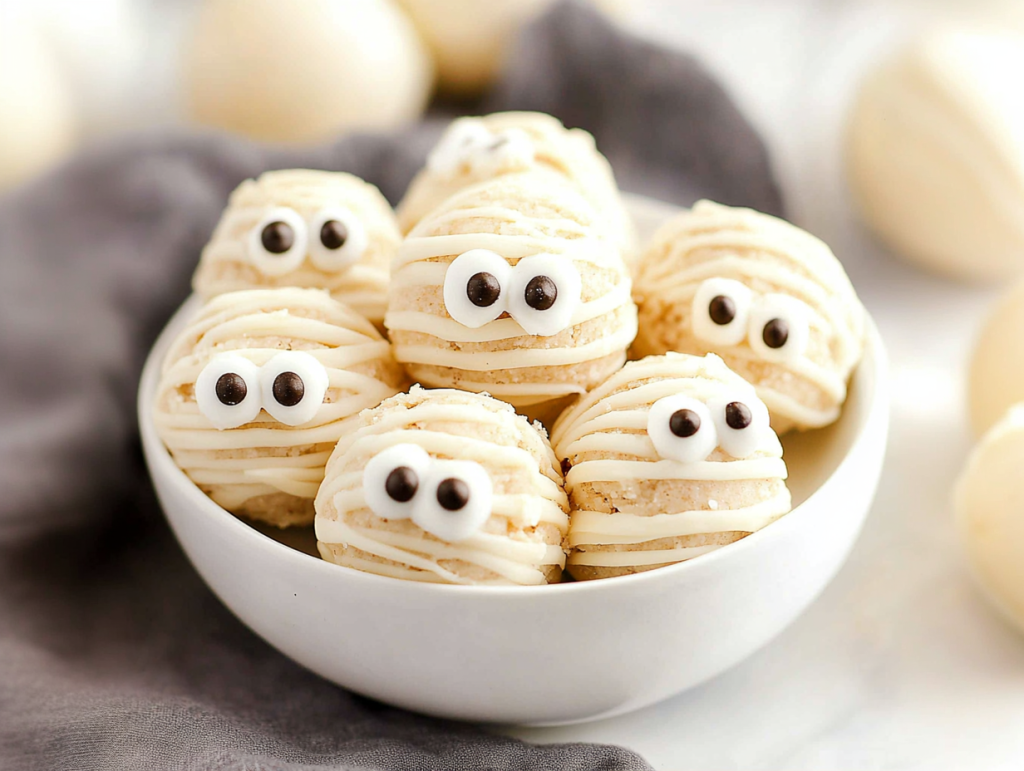
- Add the mummy details: Pour the remaining melted candy into a Ziploc bag and snip a small hole in one corner. Drizzle the candy melts over each Oreo ball to create mummy “bandages.”
- Place the candy eyes: While the drizzle is still wet, add two candy eyes to each Oreo ball.
Step 5: Chill and Serve
- Final chilling: Place the decorated Oreo balls in the fridge for 15-20 minutes, or until the candy coating is set.
- Serve and enjoy: Display these spooky treats and enjoy!
FAQs
Can I use regular Oreos instead of Golden Oreos?
Absolutely! Regular chocolate Oreos will add a darker filling for a “creepier” effect, which works perfectly for Halloween.
How long do Mummy Oreo Balls last?
These Oreo balls can be stored in an airtight container in the refrigerator for up to a week.
Can I make these in advance?
Yes, they’re a great make-ahead treat! Just prepare them a day or two in advance and keep them refrigerated.