These lemon crinkle cookies are a delightful combination of zesty lemon flavor and a soft, chewy texture.
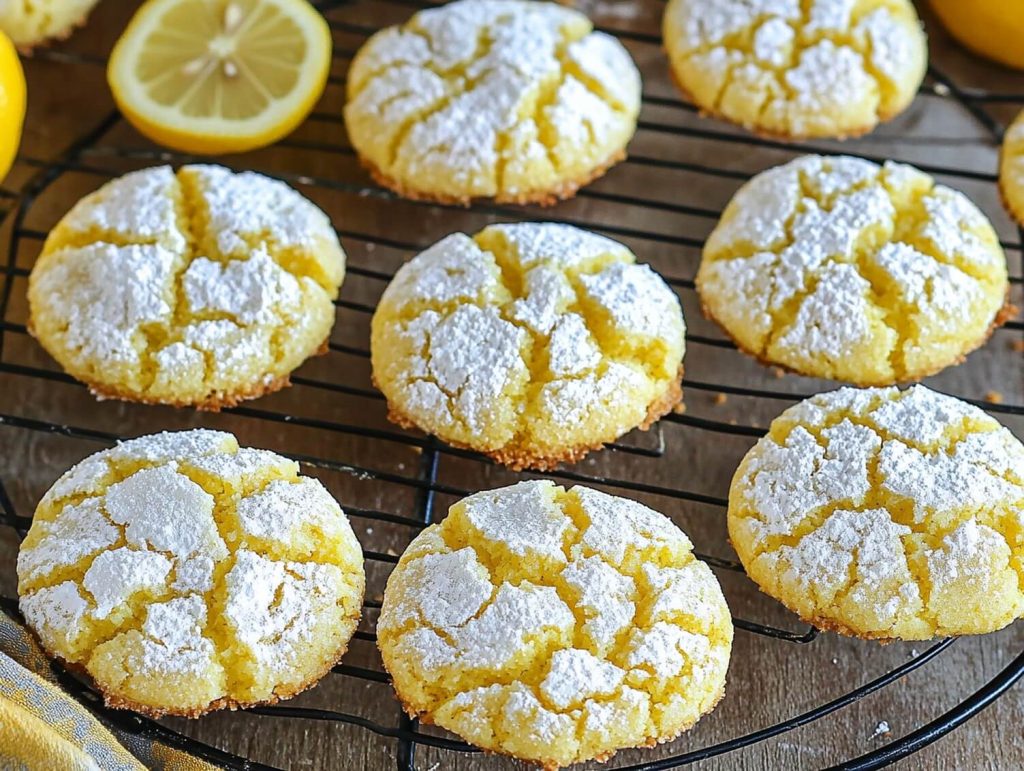
They’re rolled in powdered sugar to give that signature crinkled look after baking.
With just the right amount of tartness and sweetness, these cookies are perfect for lemon lovers and are great for sharing or enjoying with a cup of tea.
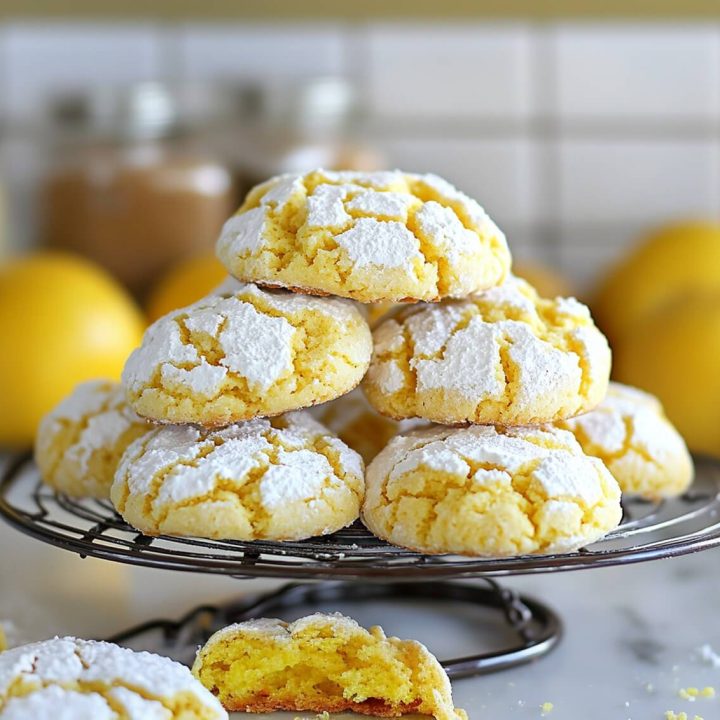
Lemon Crinkle Cookies
Zesty, soft, and crinkly – these lemon cookies are a citrus lover's dream!
Ingredients
- 2 cups all-purpose flour
- 1 teaspoon baking soda
- 1/4 teaspoon salt
- 1/2 cup butter, softened
- 1 cup sugar
- 1 large egg
- 2 tablespoons fresh lemon juice (double for a stronger lemon flavor)
- 1 teaspoon lemon zest
- 1/2 teaspoon vanilla extract
- 5-8 drops yellow food coloring (optional)
- 1/4 cup sugar
- 3/4 cup powdered sugar
Instructions
Step 1: Prepare the Dry Ingredients
In a large mixing bowl, whisk together the all-purpose flour, baking soda, and salt. This will ensure the leavening agents are evenly distributed throughout the dough, which is key for achieving a consistent rise in the cookies. Set this dry mixture aside.
Step 2: Cream the Butter and Sugar
In the bowl of a stand mixer or using a hand mixer, beat the softened butter and granulated sugar on medium speed for 2-3 minutes, until the mixture is light, pale, and fluffy. This step is important because it incorporates air into the dough, making the cookies lighter and more tender. Scrape down the sides of the bowl occasionally to ensure everything is well-mixed.
Step 3: Add the Lemon Flavor
To the creamed butter and sugar, add the egg, fresh lemon juice, lemon zest, and vanilla extract. If you want to give the cookies a bright yellow hue, add 5-8 drops of yellow food coloring at this stage. Continue mixing until everything is well combined and the dough is smooth. The lemon zest will add a bold, fresh lemon flavor to the dough, while the lemon juice enhances the tartness.
Step 4: Combine the Wet and Dry Ingredients
Gradually add the dry ingredients (flour mixture) to the wet ingredients in the mixer. Mix on low speed, adding the flour in small portions, until everything is just combined. Avoid overmixing, as this can lead to tough cookies. The dough will be slightly sticky at this point, which is normal.
Step 5: Chill the Dough
Cover the dough tightly with plastic wrap and place it in the refrigerator for at least 2 hours. This chilling period is essential to firm up the dough, which helps prevent the cookies from spreading too much during baking. Chilling also allows the flavors to meld and develop, resulting in tastier cookies.
Step 6: Preheat the Oven and Prepare Baking Sheets
After the dough has chilled, preheat the oven to 350°F (175°C). Line two baking sheets with parchment paper or silicone baking mats. This will prevent the cookies from sticking to the baking sheets and ensure even baking.
Step 7: Shape the Dough Balls
Use a small cookie scoop or a tablespoon to portion out the dough, ensuring uniform-sized cookies. Roll each portion into a smooth ball between your hands. The dough might still be slightly sticky, but it should be easier to handle after chilling.
Step 8: Coat the Dough Balls
Roll each dough ball first in granulated sugar, which helps create a slight caramelized coating. Then, roll the dough balls generously in powdered sugar. Make sure the powdered sugar completely coats the dough, as this is what creates the beautiful crinkle effect when the cookies bake and spread.
Step 9: Bake the Cookies
Place the coated dough balls on the prepared baking sheets, spacing them about 2 inches apart to allow for spreading. Bake the cookies in the preheated oven for 10-12 minutes. The cookies are ready when the edges are set, and the centers appear slightly underbaked. This will result in soft, chewy cookies once cooled.
Step 10: Cool the Cookies
Remove the cookies from the oven and allow them to cool on the baking sheet for about 5 minutes. This initial cooling helps the cookies firm up slightly, making them easier to transfer. After 5 minutes, carefully move the cookies to a wire cooling rack to cool completely. Letting them cool fully will ensure the crinkly tops stay intact and the centers remain soft.
FAQs
1. Can I make the dough ahead of time?
Yes, you can prepare the dough and refrigerate it for up to 24 hours before baking. Just ensure it’s covered well with plastic wrap to prevent drying out.
2. Can I freeze the cookie dough?
Absolutely! After rolling the dough into balls, place them on a baking sheet to freeze. Once frozen, transfer them to a freezer-safe bag and bake when needed. Just add a few extra minutes to the baking time if baking from frozen.
3. What if I don’t have fresh lemons?
You can substitute bottled lemon juice, but fresh lemon juice and zest will provide the best flavor. Without fresh zest, the cookies may lack the bold lemony taste.
4. Why is the chilling step important?
Chilling the dough solidifies the butter, which helps the cookies retain their shape during baking. Without chilling, the dough would spread too much, and the cookies could lose their soft, chewy texture.
5. Can I skip the food coloring?
Yes! The food coloring is completely optional and does not affect the flavor or texture of the cookies. It simply adds a fun, bright yellow color to the cookies.