Tartlet shells are the perfect foundation for a variety of delicious fillings, whether sweet or savory.
This recipe will guide you through creating a flaky, buttery crust that is sure to impress your family and friends. With simple ingredients and straightforward instructions, you’ll be on your way to baking stunning tartlets in no time!
Tartlet Shells Recipe
Discover how to make flaky tartlet shells from scratch with this easy recipe! Perfect for sweet or savory fillings, these delightful shells are a must-try for any baking enthusiast.
Ingredients
- 8 tbsp unsalted butter (softened)
- ½ cup granulated sugar
- ⅛ tsp salt
- 1 large egg
- 250 g all-purpose flour (about 2 cups, spooned and leveled)
Instructions
Making Tartlet Dough
- Creaming the Mixture: In a stand mixer fitted with a paddle attachment (or using a hand mixer), combine the softened butter, granulated sugar, and salt. Beat on medium speed until the mixture is creamy and well-combined.
- Incorporating the Egg: Add the egg to the mixture and continue to mix, scraping down the sides of the bowl as needed to ensure everything is fully incorporated.
- Adding Flour: Gradually add the all-purpose flour and mix on low speed until just combined. Be careful not to overmix; the dough should come together without being tough.
- Chilling the Dough: On a lightly floured surface, divide the dough into two equal balls. Flatten each ball into a disk about ½ inch thick. Wrap tightly in plastic wrap and refrigerate for at least 2 hours or overnight.
Baking Tartlets
- Preheat the Oven: When you’re ready to bake, preheat your oven to 325°F (163°C).
- Rolling Out the Dough: Remove the dough from the fridge and roll it out to about ⅛ inch thick.
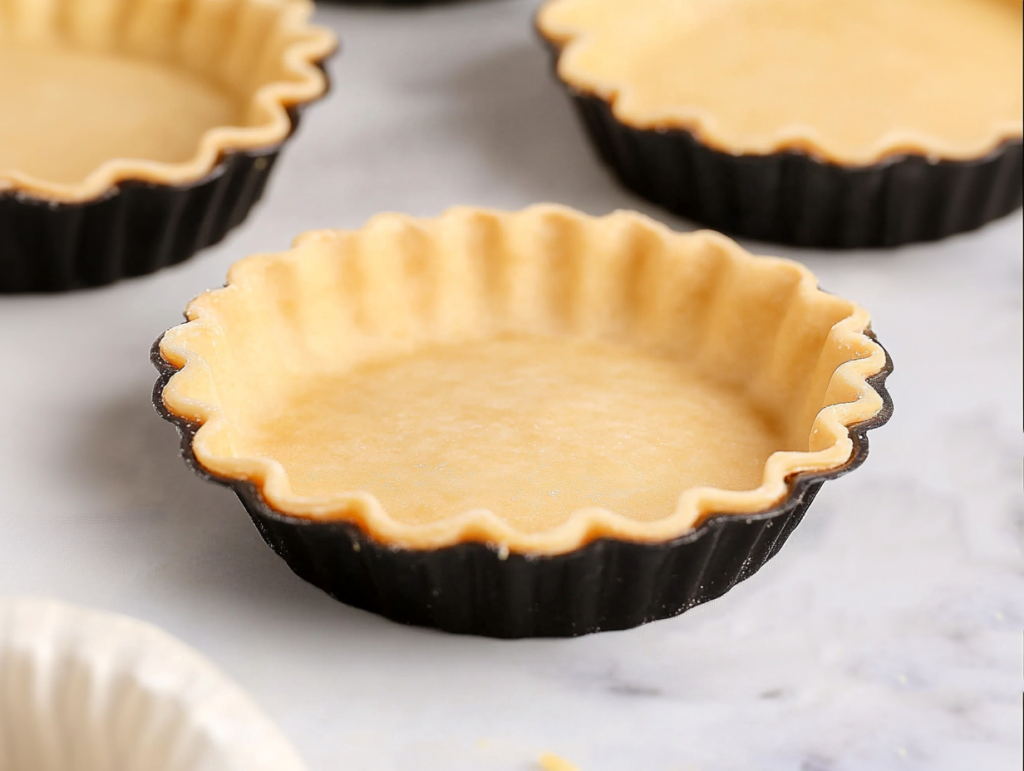
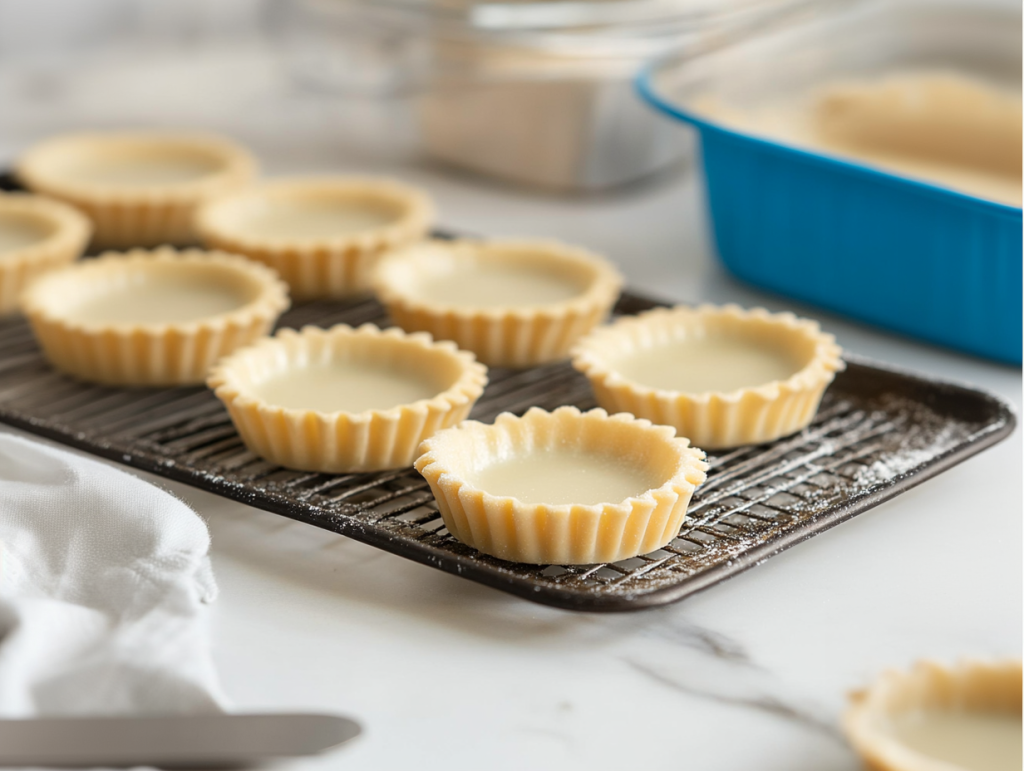
- Cutting the Shells: Using a round cutter, cut out circles that are about ½-1 inch larger than your tart pans. Carefully place the circles into the pans, ensuring the dough fits snugly without stretching.
- Trimming Excess Dough: If necessary, re-roll any leftover dough and repeat. Trim any excess dough from the edges using a knife or by rolling a rolling pin over the top of the pans.
- Poking Holes: Gently poke the bottom of each tart shell with a fork to create several holes. This will prevent the dough from puffing up while baking.
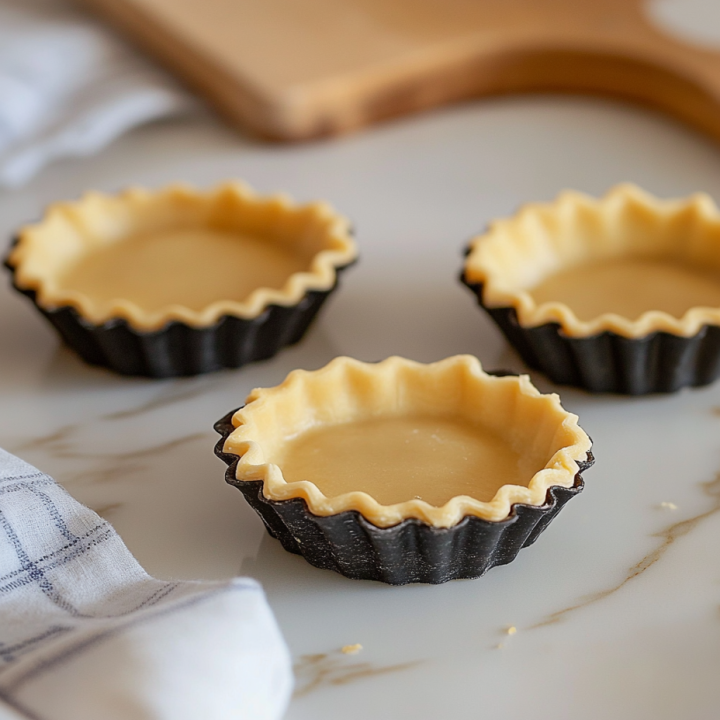
- Chilling Again: Before baking, chill or freeze the tart shells for 15 minutes to help them retain their shape.
- Baking: Place the chilled tart shells on a baking sheet and bake in the preheated oven for 14-18 minutes (for 4-inch tart shells), rotating the pan halfway through. The baking time may vary depending on the size of your shells.
- Cooling: Once golden brown, remove the tart shells from the oven and let them cool in the pans. Once cooled, gently remove them from the molds.
- Filling and Enjoying: Fill the tartlet shells with your desired filling and enjoy!
FAQs
Can I use salted butter instead of unsalted butter?
Yes, you can use salted butter. Just omit the additional salt in the recipe to avoid making the dough too salty.
How do I store leftover tartlet shells?
Store any leftover tartlet shells in an airtight container at room temperature for up to 3 days. You can also freeze the baked shells for up to 1 month.
What types of fillings can I use for tartlets?
Tartlet shells can be filled with a variety of sweet or savory fillings, such as fruit compotes, pastry cream, chocolate ganache, or even quiches. The possibilities are endless!
Why did my tart shells shrink while baking?
If the dough is stretched while placing it in the tart pans or if it isn’t chilled enough before baking, it may shrink. Make sure to handle the dough gently and chill it properly to prevent shrinkage.